
What are the variations?
Mix concrete
The standard variant to create concrete decoration yourself is to mix concrete with water, cement and sand together. This will give your objects the classic concrete look, because it is poured and bubbles or even different shades of gray can occur in the process. This is because you may need to remix concrete again, and that’s where the mix ratio may differ slightly, making the concrete either lighter or darker. Since you can pour concrete exclusively, you must be aware that for any concrete decoration you need a prefabricated mold in which the concrete can dry. But believe me, mixing concrete is super fun and in the next paragraphs you will learn how exactly to proceed and what you need to be able to pour concrete.
Kneaded concrete
If you do not want to mix concrete, but still want to create concrete decoration with little effort, there is another option. You can buy kneaded concrete in the craft store, you can knead it into the desired shape and then simply let it dry. You don’t have to bake it in the oven, as is common with other modeling clays. However, you’ll have to be patient for a day or two before you can decorate the objects in your home so that the mold really hardens through. For being a super easy option without making a big mess, though, the objects might not look super authentic.
Creative Concrete
Meanwhile, in the specialized market there is another way to get concrete very easily. This creative concrete only needs water to be used. So you save yourself the mixing process, so to speak, but it also has its price. This concrete mix is much more expensive than the other variants. Of course, everyone must know for himself how much effort he wants to take on his concrete decoration, but we can only say that the mixing process is somehow part of it and is super fun!
Step by step to concrete decoration
What do I need to mix concrete?
First of all, you need certain ingredients and tools to successfully create concrete decoration yourself. What you absolutely need is cement, which you can also buy in small quantities in the hardware store or often in the craft store. So that the cement becomes concrete you also need sand and water. The finer the sand, the smoother the results. If you have sand with a lot of stones, you can sift it beforehand and then continue working only with the sand. Furthermore, you should have vegetable oil and a casting mold at home. What that should be in each case for casting molds, we explain in each case at the individual DIYs. It creates sense to have sandpaper and a small spatula to be able to process the concrete well. It’s also best to have some foil to cover your workspace so that the concrete doesn’t end up somewhere where it doesn’t belong.
How do I mix the concrete?
It’s not difficult to mix concrete, as long as you follow the measurements. If the mix is too runny, it will flow up out of the mold, and if it’s too thick, it can get lumpy quickly. You start by mixing one part cement with 3 parts sand. How much is one part is up to you based on how big the concrete decoration will be. It is better to have enough concrete to fill the mold, otherwise the concrete will not stick together. Then fill a container with water and add the cement-sand mixture until only a small heap peeks out above the water surface. In the next step, start stirring as if you were folding in cream. Start with less water, so you can always add more if needed. Once you have the perfect consistency, the concrete can be poured into the mold. In the following DIYs, we’ll tell you how this can look in each case.


Now it’s time to get creative
DIY concrete bent vase
A cool vase that looks like a bent plastic cup. Not as an expensive design object, but made all by you. So it only creates sense that the casting mold is also a plastic cup. Fill the concrete mass into the cup, but only three-quarters full. Since it is to become a vase, the plastic cup still needs a cavity. To do this, simply take a second cup, cut a vertical slit in the cup and a slit in the bottom, overlap the rim of the cup and fix it with tape so that you can reduce the diameter of the cup. Another option is to use the cylindrical plastic packaging of vitamin packs for this purpose. Now you need to take the cup in your hand and press it firmly and this result must then dry at least one day. Cut the plastic cup with a cutter knife and remove it from the concrete. Finished.
DIY concrete letter
For this DIY you need as a mold a letter made of cardboard. You can buy them in many craft stores to paint and decorate with feathers and stones. But we have something different in mind. For this you need to cut out the bottom of the letter with a cutter knife. Then you need to tape the inside so that the cardboard does not soak. Once you have poured the concrete into the mold, you can smooth the surface with a spatula and then let it dry for 48 hours. Once you have separated the concrete from the cardboard and have the finished concrete letters in front of you, you can sand the edges with sandpaper. Done!
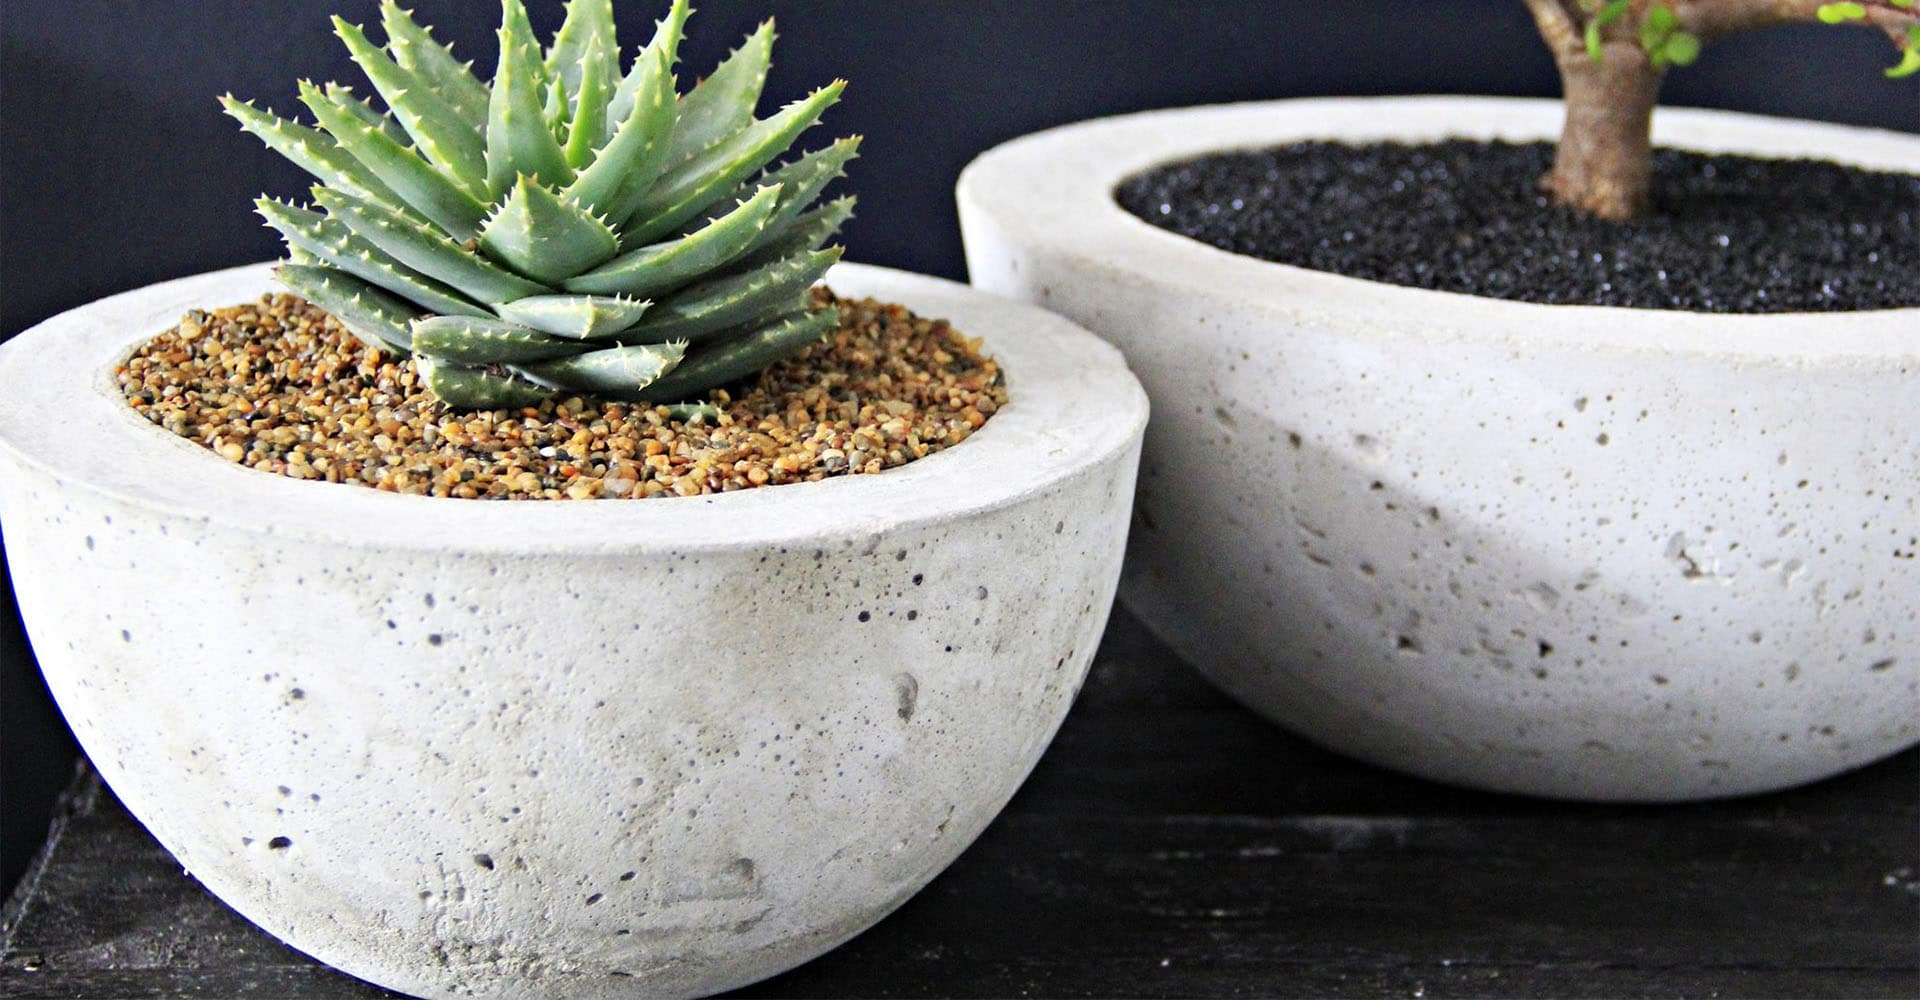
DIY concrete bowl
For this you need two plastic bowls, which must differ at least 2cm in diameter. In the next step, you rub the inside of the large bowl and the outside of the smaller one with the oil, so that the concrete comes out of the mold better. Now you fill the concrete into the large bowl, but it is important that there is still space at the top. Then press the second bowl into the middle of the other one. Attention: Do not push it all the way to the bottom. You can weigh it down with stones or something similar, so that the bowl stays in position. Now you have to wait again until the finished concrete bowl can be freed.
Christmas with concrete
If you want to have a change in your Christmas decoration, here is the solution: concrete decoration! Namely, I now explain to you how to create an Advent wreath from concrete. Of course, you first need an appropriate form again. You can either create it yourself from cardboard by bending two strips of cardboard as a circle and put them into each other, or maybe you’re lucky and find a baking pan for a wreath cake. However, you should then dispose of this after this craft action or it should of course no longer be used for baking. After the concrete has been poured into the mold, you can press four metal candle holders into the concrete, which are then concreted in. Then the wreath must dry only long enough and you have an Advent decoration of a different kind, modern and simple. Ourt last tip for your start to create concrete decoration.