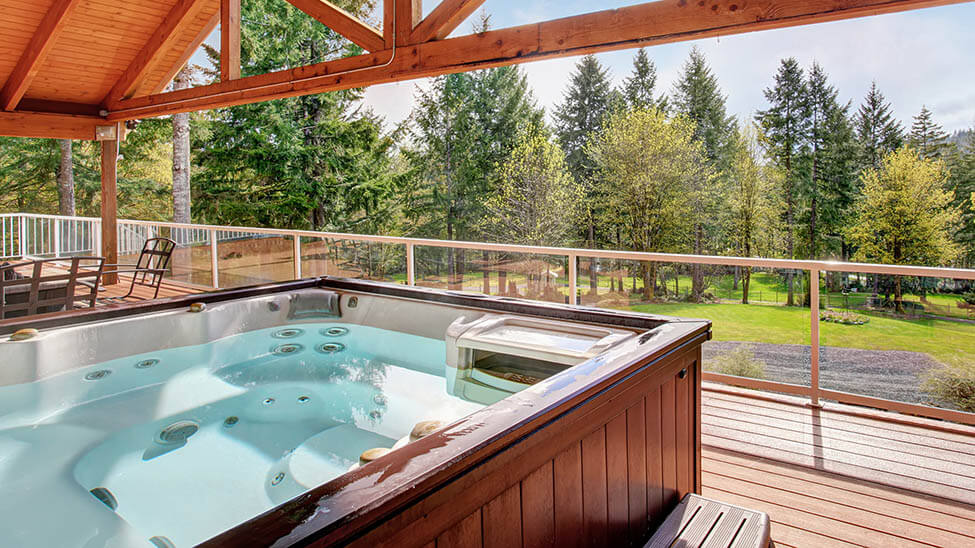
Build diy hot tub surround – Here’s how to succeed at this DIY project!
Preparation before building
Before building, you must first measure your hot tub, you can of course also take the dimensions from the instruction manual. After that, you should think about how big you want your surround to be and what material you want to use. We recommend oak wood, which is a bit more expensive, but it is water-repellent and moisture does not affect it. You should of course seal it with a special varnish against moisture. In order to build diy hot tub surround, you should also have the necessary tools at hand.
Time management
If you want to build diy hot tub surround, you should definitely pay attention to your time management, if you are an experienced craftsman, it is quite possible that the pure workload will be 5-6 hours. However, if you are not very skilled in craftsmanship, you should plan for 2 days so that you don’t make any gross mistakes. If you’re thinking to yourself now, my time is generally too shabby for me, then you can also buy a hot tub surround, one option would be our favorite of the hot tub surrounds.
build diy hot tub surround with our tips
Step 1: Build a frame
For your hot tub surround you need a frame, this carries your complete construction and is also made of wood. You build this frame from thick, stable beams along your pool walls. The frame should consist of two cross beams and two longitudinal beams. For this purpose, you saw your wooden beams to size and screw them into each other with hinges so that they frame the entire pool. Admittedly, this task is somewhat easier with a square hot tub. With a round spa, you may have to build several pieces and screw them together. The more distance you leave from the frame to the spa, the wider your surround will be.
Step 2:Build the actual spa surround
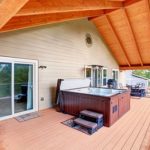
Once the frame is in place, you can now get to work building the actual surround. For this you take your oak boards, best you buy the grooved version, because from these you can not slip off, when getting out of the pool. These wooden plates are often already sealed in the hardware store, so you do not have to spray them with varnish. Now you cover your entire frame on the side and on the surface with these oak panels. For this you can use normal screws and a cordless screwdriver.
Step 3: Sand off sharp edges and check stability
If your complete hot tub surround is in place, be sure to sand off the corners. This is because the sawed-off wood can be very sharp and poses a huge risk of injury to you and your family. To do this, simply use normal sandpaper and a sanding machine. Sand all edges and corners properly. After that, you can do a stress test of your hot tub surround. Stand on it carefully and see if it can take you. If you want to build diy hot tub surround, these are the three basic steps you should follow. Slight variations are not a problem, of course, just be creative and have fun with the work.
Hot tub surround do it yourself essentials
Oak wood
You should use oak wood for building, this wood is particularly robust and very insensitive to moisture. You should buy oak beams, these are suitable for building the frame and oak boards with a groove. These are also often used to build garden terraces. The fluting prevents slipping on the wooden boards. You can get both materials in any standard hardware store, but it is still worth comparing prices beforehand. Especially in the summer months, the wood panels for terrace construction are often on sale. The terrace tiles should be sealed, because they will always come into contact with water. You should definitely pay attention to this when buying, because otherwise they could become rotten.
Saw
In order to build diy hot tub surround, you will of course need a saw to cut your beams and slabs. Here it is up to you whether you prefer to use a normal hand saw for wood or an electric foxtail. The electric foxtail is of course much more comfortable and can be used for all types of wood. With it, you are also much faster than with the hand saw and the cut is also much more precise. That’s why we recommend you to use the electric saw. The electric foxtail is available as a battery and direct current device, you should rather buy the battery version, because with it you are much more flexible and afterwards you can correct small things directly on the border.
Cordless screwdriver
In order to attach the wooden panels to your scaffolding properly, you should definitely use a good cordless screwdriver. The wood is so thick and durable that there’s no way you’ll be able to do it by hand. Plus, you’ll be done much faster and your hot tub surround is supposed to last a while, right? Make sure your cordless screwdriver has enough torque so you can use it to drill through harder materials.
Sandpaper or sander
The last step is to sand the sharp edges of the wood. For this we recommend extra coarse sandpaper, wrap it around a sanding block and you’re ready to go. If you want to save time, buy a sander with a triangular head. This will allow you to perfectly capture the corners of your spa surround. If you have a round surround, you can also buy a grinder with a round head.
Screws and hinges
In order to connect your wooden panels well to the frame, we recommend you to use the chipboard screw. This is a special wood screw and has a particularly slim design, it can have a partial or full thread and has a countersunk head. This screw is more or less conical and has a coarse thread, it does not need a mating thread because wood is a relatively soft material and so it can cut into it. To build the frame, you should buy hinges, but ones that are not meant for cabinets, but for joining different materials. They look like little L’s and have a total of four holes to mount them to the joists. For the beams you should use hardwood screws, because they are much thicker than the wooden boards. Thus, you don’t have to pre-drill any holes because these screws can be screwed into the joists without much force or cracking. These screws are often made of carbon steel with galvanic zinc coating and are perfect for load-bearing structures. Since they are very long and robust.


